Appearance
Windows Virtual Desktop Integration
Microsoft Windows Virtual Desktop (WVD) provides cloud-based virtual desktop infrastructure in Azure. This guide covers deploying Turbo applications to WVD session hosts.
What you'll learn
- How to set up shared image storage in Azure
- How to configure Turbo Client on WVD hosts
- How to deploy applications to session hosts
- How to manage application access through WVD Portal
Prerequisites
- Azure subscription with WVD environment
- Administrative access to Azure Portal
- Turbo Server installation
- Network connectivity between WVD and Turbo Server
Shared Image Storage
A central repository for application images reduces network transfer and optimizes storage on WVD session hosts. Use an Azure managed disk with sharing enabled:
Azure CLI Setup
bash
az disk create -g <wvd-resource-group> -n <sharedimagedisk-name> --size-gb 1024 -l <azure-location> --sku Premium_LRS --max-sharesAzure Portal Setup
- Create a managed disk following Azure documentation
- Enable shared disk option
- Set appropriate max shares value

Note
Different disk sizes have different max shares limits. See Azure documentation for details.
Attach Disk to Session Hosts
Choose one of these methods:
Manual Attachment
- Follow Azure disk attachment guide
Automated Attachment (ARM Template)
json"dataDisks": [ { "lun": 0, "createOption": "attach", "caching": "None", "writeAcceleratorEnabled": false, "managedDisk": { "id": "/subscriptions/b11ccec5-c64c-4633-8e45-5dfd5db5e408/resourceGroups/path/to/shared-image-disk/providers/Microsoft.Compute/disks/<sharedimagedisk>" } } ]
Turbo Client Configuration
Configure session hosts with these steps:
Install and configure Turbo Client:
bashturbo-client-setup.exe --all-users --silent --domain=<turbo-server-url> --add-trusted-source=<turbo-server-url> --image-path=<path-to-sharedimagedisk>Authenticate with Turbo Server:
bash# Using user credentials turbo.exe login --all-users # Using API key turbo.exe login --all-users --api-key=<api-key>Subscribe to workspace applications:
bashturbo.exe subscribe --all-users <workspace>
These commands can be executed through:
- Manual setup on custom images
- Image builder configuration (e.g., Packer)
- Azure Custom Script Extension during deployment
Application Access
- Access the WVD Portal
- Verify application deployment through:
- Turbo Server workspace view
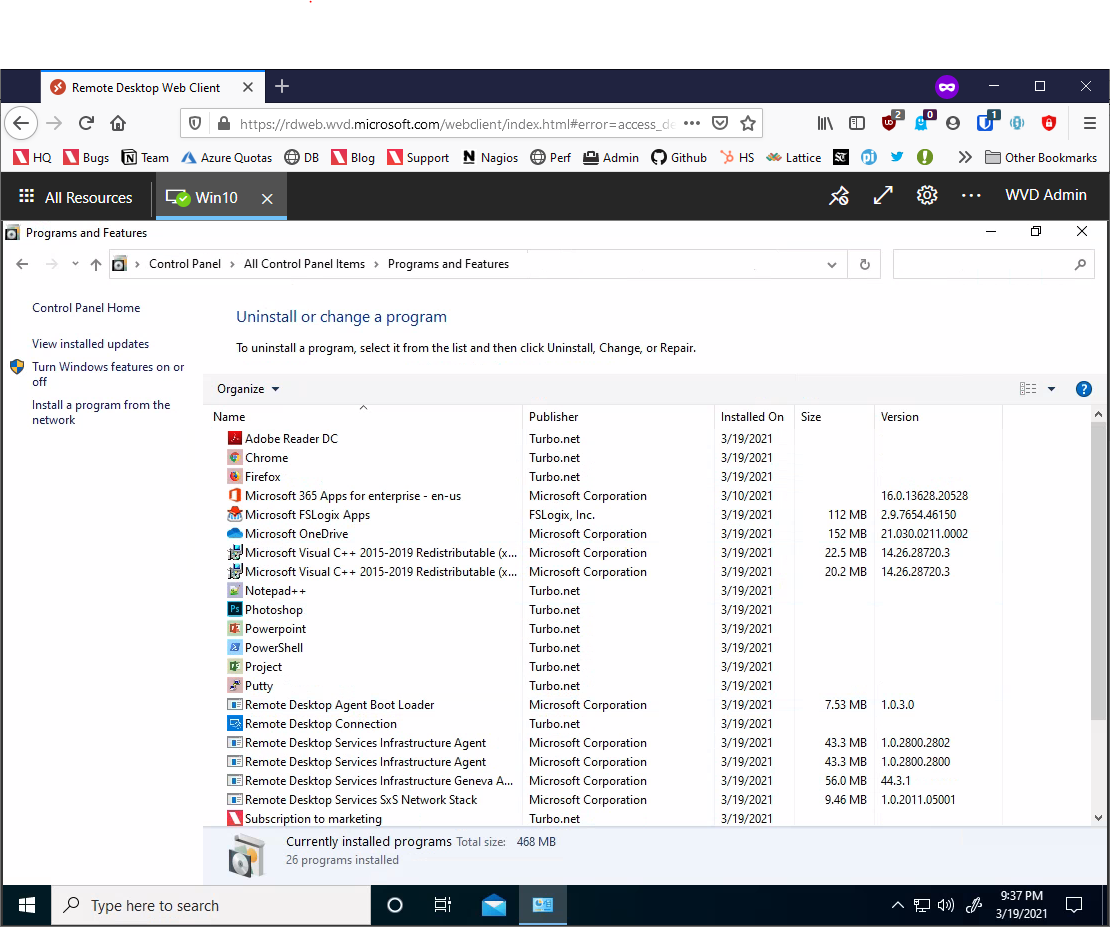
- Add/Remove Programs on session hosts