Appearance
Introduction to Using Portal
This guide is intended for end users accessing applications through the Turbo Server portal, particularly in environments where devices are not under organizational control (such as personal devices, BYOD workstations, or remote work scenarios). The portal provides flexible access to applications and files through any web browser, without requiring pre-configured devices or managed infrastructure. For administrators setting up and managing the portal, refer to the Workspace Administration and Portal Appearance documentation.
Note to Administrators
This is an end-user guide that you can share with your users once you have:
- Installed and configured Turbo Server
- Set up workspaces with applications
- Configured application servers for HTML5 streaming
Simply provide your users with:
- Your Turbo Server URL (e.g., https://turbo.yourcompany.com)
- Their login credentials
What you'll learn
Through the portal, you'll learn how to:
- Access applications through any HTML5-compatible browser
- Launch applications directly or install them on Windows
- Connect your personal cloud storage providers
- Access shared storage (if configured by your administrator)
- Manage and use files directly within the portal
Prerequisites
Before proceeding, ensure you have:
- Valid login credentials for your Turbo Server account
- Modern HTML5-compatible web browser
- Network access to your Turbo Server URL
- A Windows desktop (only required for local installation and running applications outside the browser)
Getting Started
Accessing the Portal
Navigate to your Turbo Server URL:
https://[your-server]The portal interface is the default landing page.
Log in with your Turbo Server credentials
You'll see the portal dashboard with your available workspaces
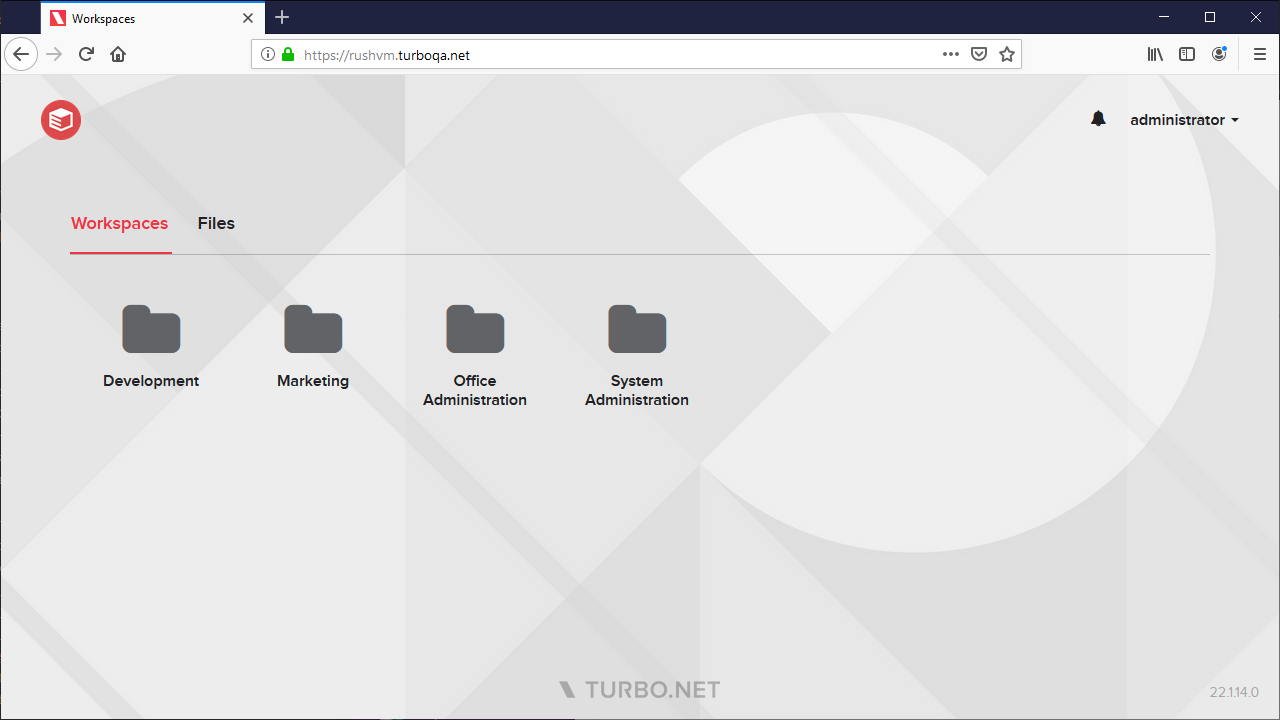
Portal Navigation
After login, you'll be taken to your workspace:
- If your organization has multiple workspaces, select one
- Otherwise, you'll see the default workspace
The home tab shows:
- Recently used applications
- Recent files
- Quick access features
For detailed workspace navigation, see Workspace Navigation.
Application Access
Using the HTML5 Client
The HTML5 client provides browser-based access to applications:
Note About Application Servers
Application servers are required for HTML5 browser streaming or remote RDP access. Windows users can alternatively install and run applications locally through the portal without requiring application servers.
- No client installation needed
- Cross-platform compatibility
- Full application functionality
For detailed HTML5 client features and settings, see HTML5 Client Documentation.
Launching Applications
- Navigate to the Applications tab
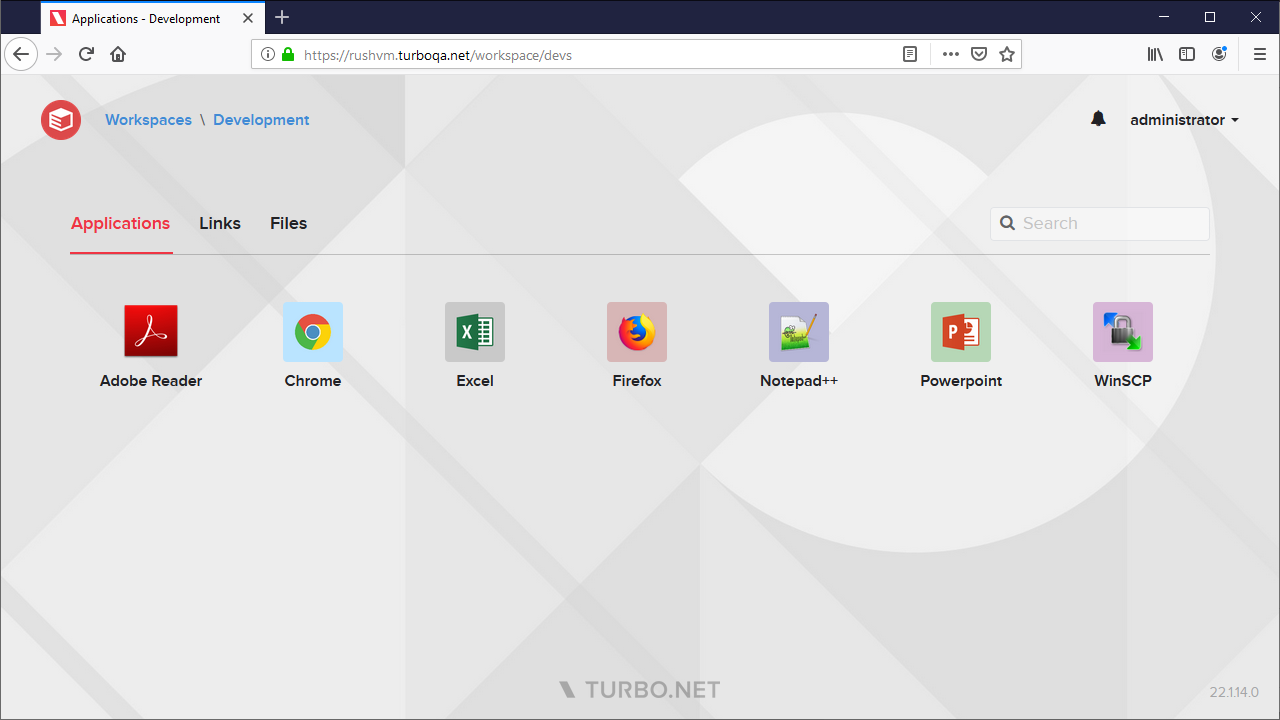
- Launch applications in several ways:
- Left-click to launch with default settings
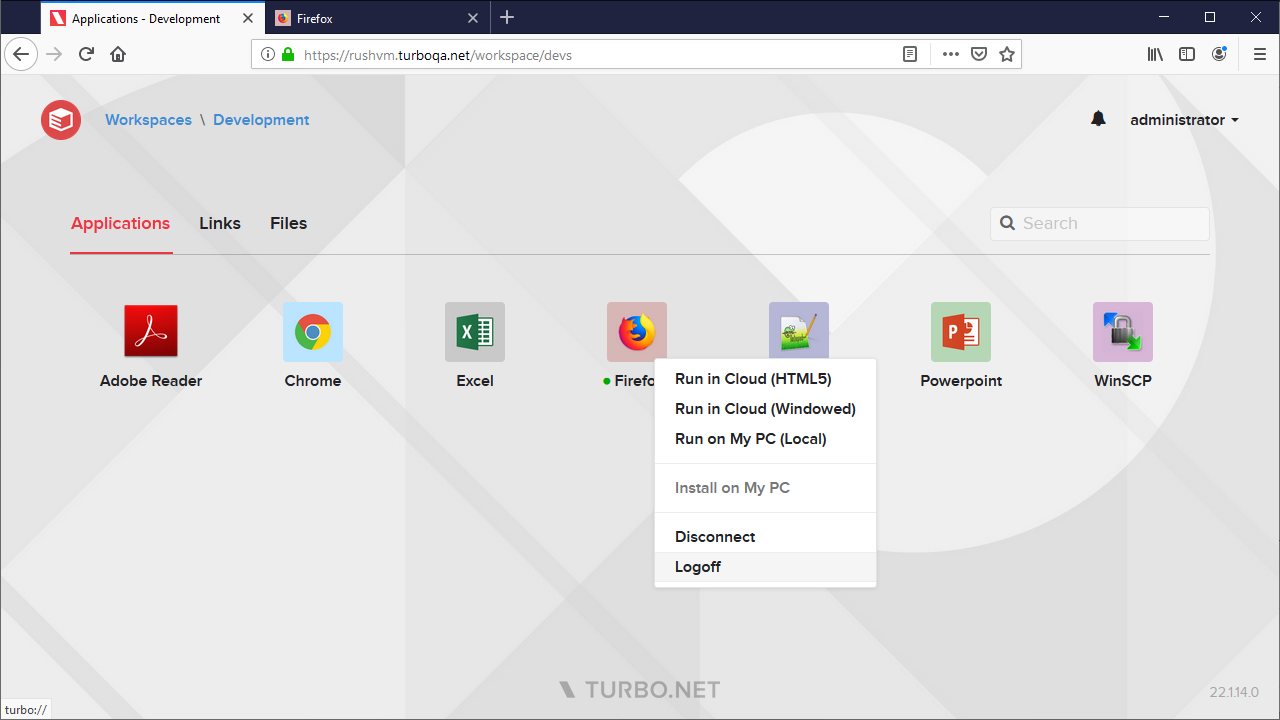
- Right-click to access additional launch options
- For Windows users, select "Install on My PC" to install the application on your desktop
Application Credentials
If your application requires login credentials, you can pre-configure them in your user settings. This allows for automatic login when launching applications.
Cloud Storage Integration
Connecting Storage Providers
Access your files from various cloud storage providers:
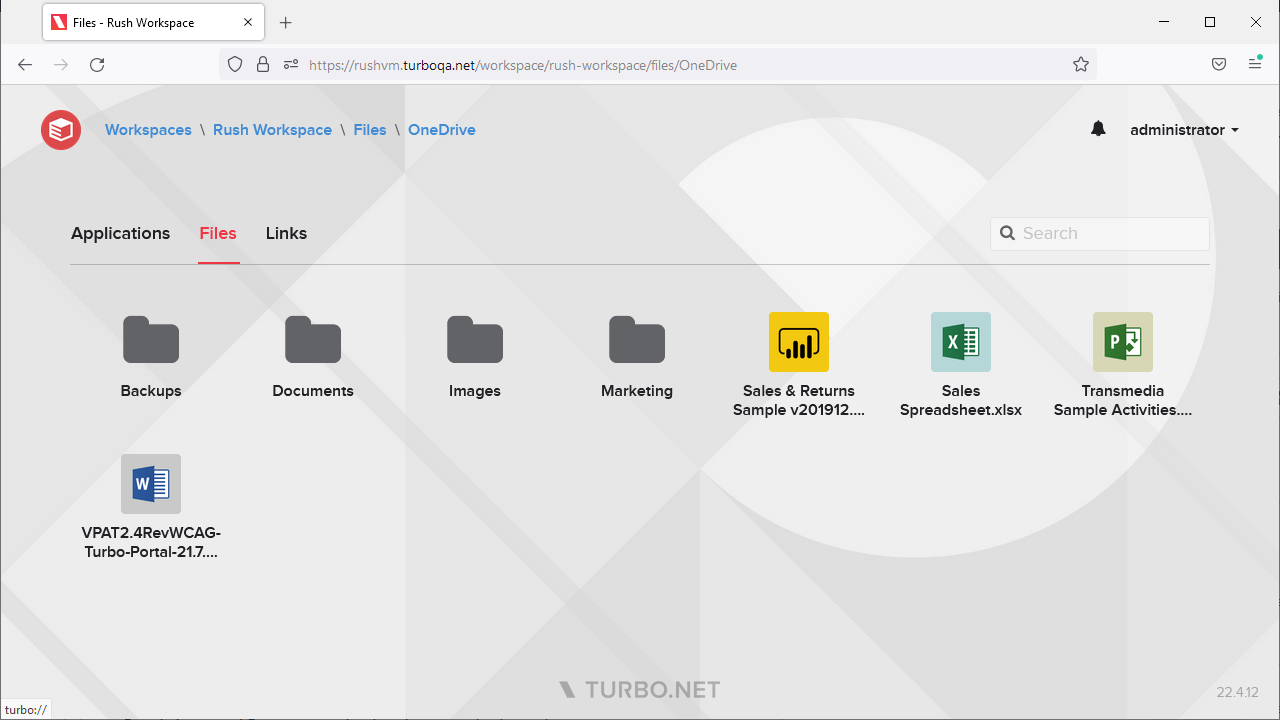
- Navigate to the Files tab
- Click "Connect Storage"
- Choose your storage provider
- Follow the connection steps
For connection details, see Cloud Storage Setup Guide
Using Cloud Storage Files
After connecting your storage providers, you can access your files in two ways:
Through the Files Browser:
- Navigate through folders
- Use the search function
- Open files directly in applications
- Download files locally
- Upload new files
- Delete files and folders
Through the T: Drive in Applications:
- Cloud storage automatically maps to the T: drive
- Access your files directly from within applications
- Save files back to cloud storage seamlessly
- Work with files as if they were local
TIP
When you launch applications in the cloud, your connected cloud storage is automatically mapped to the T: drive, making it easy to access and save files directly from within your applications.
For detailed information about working with files, see Using Cloud Storage.
Best Practices
For the best portal experience:
- Use a modern, HTML5-compatible browser
- Ensure stable network connectivity